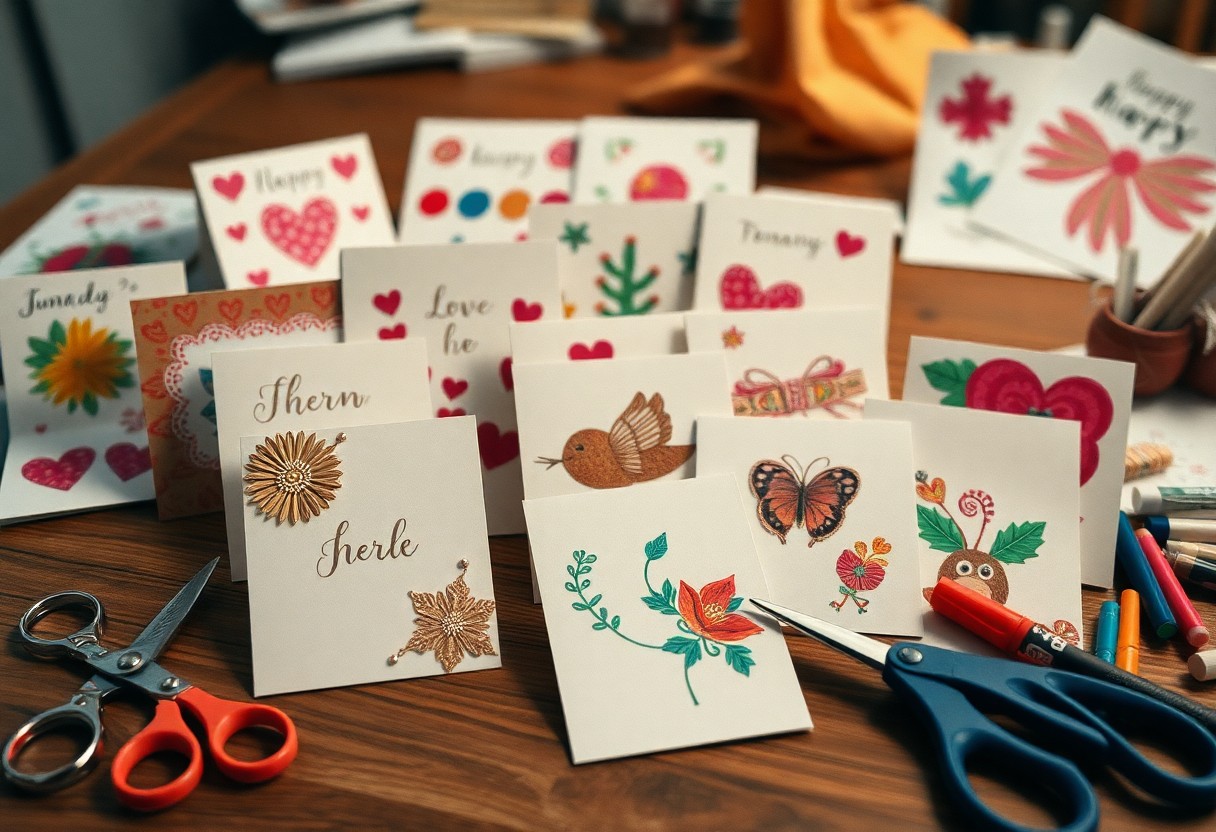
As you seek to express your sentiments with elegance and thoughtfulness, consider crafting your own DIY greeting cards. You can find inspiration for your creations by visiting 900+ ALL OCCASION CARDS ideas in 2024, where myriad designs await your discovery. With a little creativity, you can design beautiful, personalized cards that convey your feelings to loved ones on any occasion, making your gestures even more special and meaningful, a true reflection of your unique taste and style.
Key Takeaways:
To create unique and personalized greeting cards, consider the following points:
- Use colorful and creative materials such as stickers, stamps, and washi tape to add a personal touch to your DIY cards.
- Experiment with different techniques like layering, embossing, and die-cutting to give your handmade cards a professional look.
- Choose meaningful and relevant themes, images, and messages that match the occasion and the recipient’s personality to make your greeting cards extra special.
Getting Started
To commence on the delightful journey of creating your own DIY greeting cards, you will first need to gather your thoughts and consider the occasion for which you are crafting the card. This will help guide your decisions throughout the process.
Gathering Materials
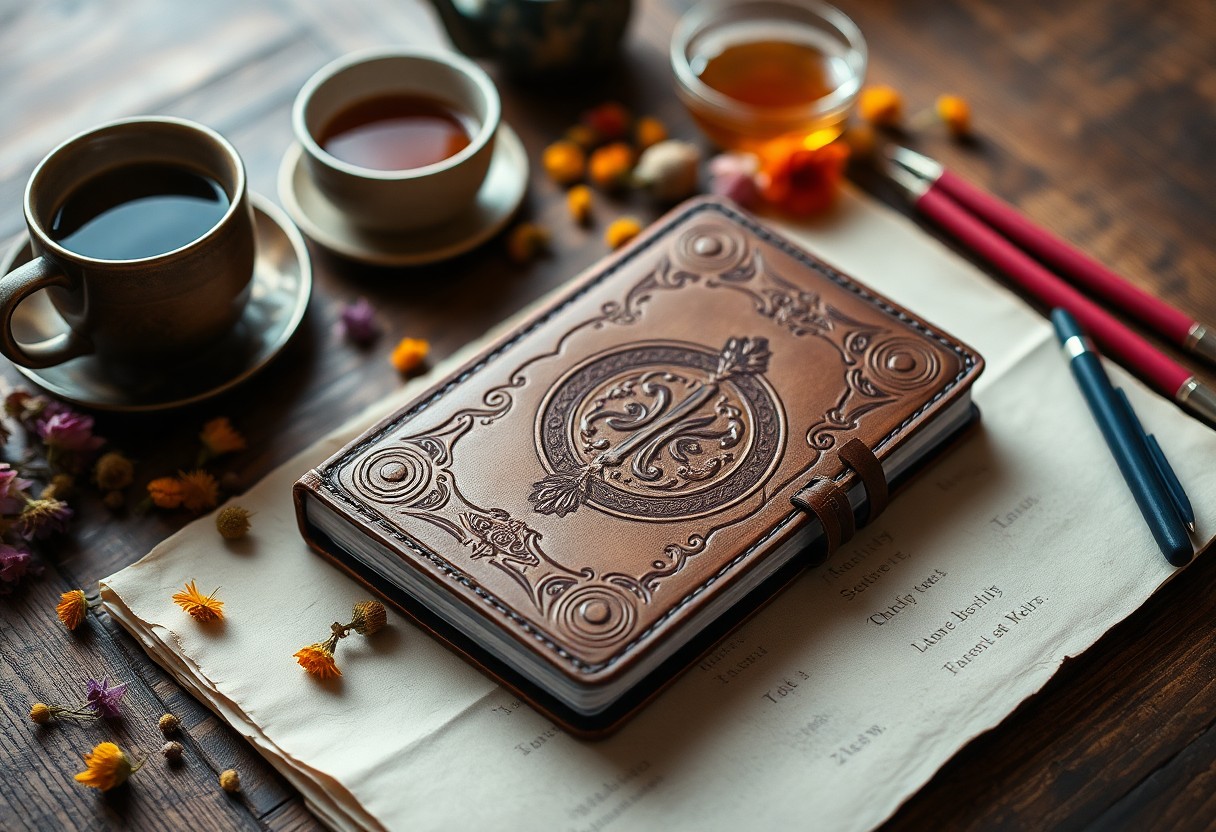
Gaining a sense of what materials you will need is the next step in this charming venture. You will want to collect an assortment of papers, adhesives, and embellishments to bring your vision to life.
Choosing Designs
Almost any design can be adapted to fit your needs, and you will find that your own personal style will shine through in the choices you make. You can draw inspiration from various sources, such as nature or architecture.
Due to the vast array of design options available, you may find yourself spoiled for choice. As you ponder the design for your card, consider the personality and preferences of the recipient, as well as the occasion being celebrated, to ensure your creation is a thoughtful and meaningful gesture.
Occasion-Based Ideas
You will find that creating DIY greeting cards can be a most delightful experience, as you tailor them to the specific occasion and recipient, injecting a personal touch that store-bought cards often lack.
Birthday Cards
Above all, birthday cards should reflect the unique personality and style of the celebrant, so consider incorporating their favorite colors, hobbies, or interests into your design to make it truly special.
Holiday Cards
With the numerous holidays throughout the year, you have ample opportunities to express your creativity and thoughtfulness through DIY cards, whether it be for Christmas, Easter, or Thanksgiving, each one offering a chance to connect with loved ones.
Considering the diverse nature of holidays, you may find it helpful to explore various themes, motifs, and sentiments to convey your well-wishes, from the joyful and festive to the sincere and heartfelt, allowing your cards to resonate with your recipients on a deeper level.
Design Techniques
For creating exquisite DIY greeting cards, you will need to explore various design techniques that showcase your artistic flair. As you begin on this creative journey, you will discover the numerous ways to embellish and enhance your cards, making each one a unique masterpiece.
Stamping and Stenciling
Techniques such as stamping and stenciling allow you to add intricate patterns and designs to your cards, lending them a touch of elegance and sophistication. You can experiment with different stamps and stencils to achieve the desired effect, making your cards truly special.
Quilling and Embellishments
Similar to stenciling, quilling and embellishments enable you to add delicate, ornate details to your cards, giving them a beautiful, handmade quality. You can use quilling strips, ribbons, and other adornments to create stunning designs that reflect your personal style.
This quilling and embellishments technique offers you a world of creative possibilities, as you can shape and mold the quilling strips into various forms, from delicate flowers to intricate borders. As you master this technique, you will be able to create cards that are not only visually striking but also deeply personal, making them perfect for any occasion, and a true reflection of your thoughtful and artistic nature.
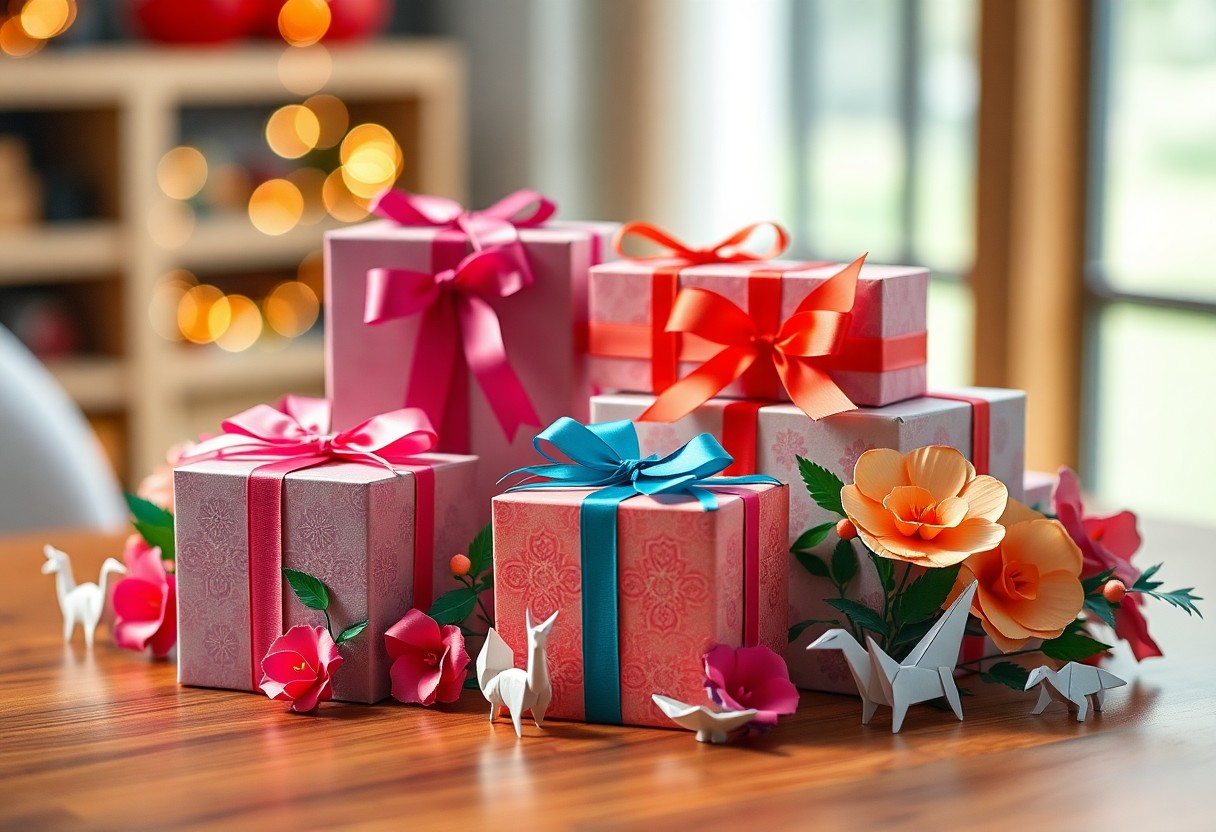
Adding Personal Touches
Your greeting card is not just a piece of paper with a message, it’s a reflection of your thoughtfulness and creativity, allowing you to express your feelings in a unique way.
Photos and MEMENTOS
Around the edges of your card, you can add cherished memories, such as a photo or a small memento, to make it extra special for the recipient.
Handwritten Messages
Often, the most meaningful part of a greeting card is the handwritten message, as it conveys your sincerity and adds a touch of warmth to the card, making it truly yours.
Indeed, as you take the time to craft a heartfelt message, you will find that your words become a genuine expression of your feelings, allowing you to connect with the recipient on a deeper level, and making the card a treasured keepsake for years to come, a testament to the thought and effort you put into creating something truly special just for them.
Tips and Tricks
Despite the simplicity of creating DIY greeting cards, you may encounter some challenges. Consider the following:
- Choose the right materials
- Keep it simple
- Layering
- Dimensionality
Perceiving the recipient’s style and preferences will help you create a card that is truly special.
Color Schemes and Patterns
Above all, selecting a suitable color scheme and pattern is important to create a visually appealing card. You can choose colors that match the occasion or the recipient’s favorite hues, and pair them with complementary patterns to add depth and interest.
Texture and Dimension
Deepening the visual appeal of your card, adding texture and dimension can elevate it to a whole new level. You can use various materials such as ribbons, buttons, or embossing to create a unique and eye-catching design.
Tips for incorporating texture and dimension into your DIY greeting cards include experimenting with different materials and techniques, such as layering or stamping, to add depth and visual interest. As you explore the world of DIY card making, you will find that the possibilities are endless, and your creations will become truly personalized and meaningful expressions of your thoughts and feelings.
Advanced Techniques
All aspiring card makers can take their craft to the next level with these methods:
| Technique | Description |
|---|---|
| Layering | Combining multiple elements |
| Dimensionality | Adding depth to your design |
Layering and Dimensionality
Across various styles, you will find that layering and dimensionality can elevate your cards, as you experiment with different textures and depths to create visually appealing designs.
Specialty Papers and Materials
On the subject of materials, you will discover a wide range of options to enhance your cards, from metallic papers to embroidered fabrics, allowing you to add unique touches to your creations.
Consequently, as you explore the world of specialty papers and materials, you will find that your possibilities for creativity expand, and your cards become even more personalized and thoughtful, reflecting your attention to detail and dedication to your craft, allowing you to make truly one-of-a-kind greetings that will delight your loved ones.
Summing up
So, with these simple steps, you have unlocked the secret to creating exquisite DIY greeting cards for any occasion. You can now dazzle your loved ones with your thoughtfulness and creativity, as you put your personal touch on each card. Your handmade masterpieces will undoubtedly be treasured, and the joy of giving them will be yours to savour.
FAQ
Q: What materials do I need to make a DIY greeting card?
A: To make a DIY greeting card, you will need a variety of materials, including cardstock or thick paper, scissors, glue, markers or colored pencils, and any embellishments you like, such as stickers, stamps, or ribbons. You may also want to have a ruler, pencil, and eraser on hand to help you design and layout your card. Depending on the occasion and design, you can also use other materials like photos, fabric, or found objects to add a personal touch.
Q: What are some tips for designing a DIY greeting card?
A: When designing a DIY greeting card, consider the occasion and the recipient’s personal style and interests. Choose a color scheme and theme that fits the occasion, and select images and embellishments that will resonate with the recipient. Don’t be afraid to experiment and try out new ideas, and keep your design simple and balanced to ensure the card is visually appealing. You can also look for inspiration online or in card-making books and magazines to get started.
Q: How can I make a DIY greeting card for a specific occasion, such as a birthday or wedding?
A: To make a DIY greeting card for a specific occasion, start by brainstorming ideas and themes related to the occasion. For example, for a birthday card, you might use bright colors and playful designs, while for a wedding card, you might use more formal and elegant designs. Consider the recipient’s interests and personality, and incorporate personal touches, such as photos or inside jokes, to make the card extra special. You can also use occasion-specific embellishments, such as birthday candles or wedding bells, to add a festive touch.
Q: Can I make a DIY greeting card if I’m not crafty or artistic?
A: Absolutely! Making a DIY greeting card doesn’t require a lot of artistic skill or experience. There are many simple and easy-to-follow tutorials and templates available online, and you can use pre-made cards or card bases to get started. You can also keep your design simple and focus on the message and sentiment, rather than the artistic details. The most important thing is to have fun and be creative, and the recipient will appreciate the thought and effort you put into making a handmade card.
Q: How can I add a personal touch to a DIY greeting card?
A: There are many ways to add a personal touch to a DIY greeting card, including using photos, handwritten messages, and personal symbols or icons. You can also incorporate the recipient’s name, initials, or special dates to make the card extra special. Consider adding a personal anecdote or inside joke to the card, or using a favorite quote or song lyrics to make it more meaningful. You can also use handmade elements, such as hand-drawn illustrations or handmade paper, to give the card a unique and personal touch.