Sewing and Fabric Crafts

How to Create Unique Tote Bags

You want a tote bag that stands out from the crowd. Your style is unique, and your bag should be too. You’ll learn to create a one-of-a-kind tote that reflects your personality. With a few simple steps, you’ll transform a plain bag into a work of art that’s all your own. You’ll choose the design, the fabric, and the details that make your tote truly special.

Key Takeaways:

To create unique tote bags, consider the following points:

  • Start by selecting a high-quality material that is both durable and comfortable to use, such as cotton or canvas.
  • Choose a unique design that reflects your personal style or brand, and consider adding custom graphics or fonts to make your tote bag stand out.
  • Experiment with different colors and patterns to add an extra layer of visual interest to your tote bag, and consider adding functional features such as pockets or compartments to make it more practical.
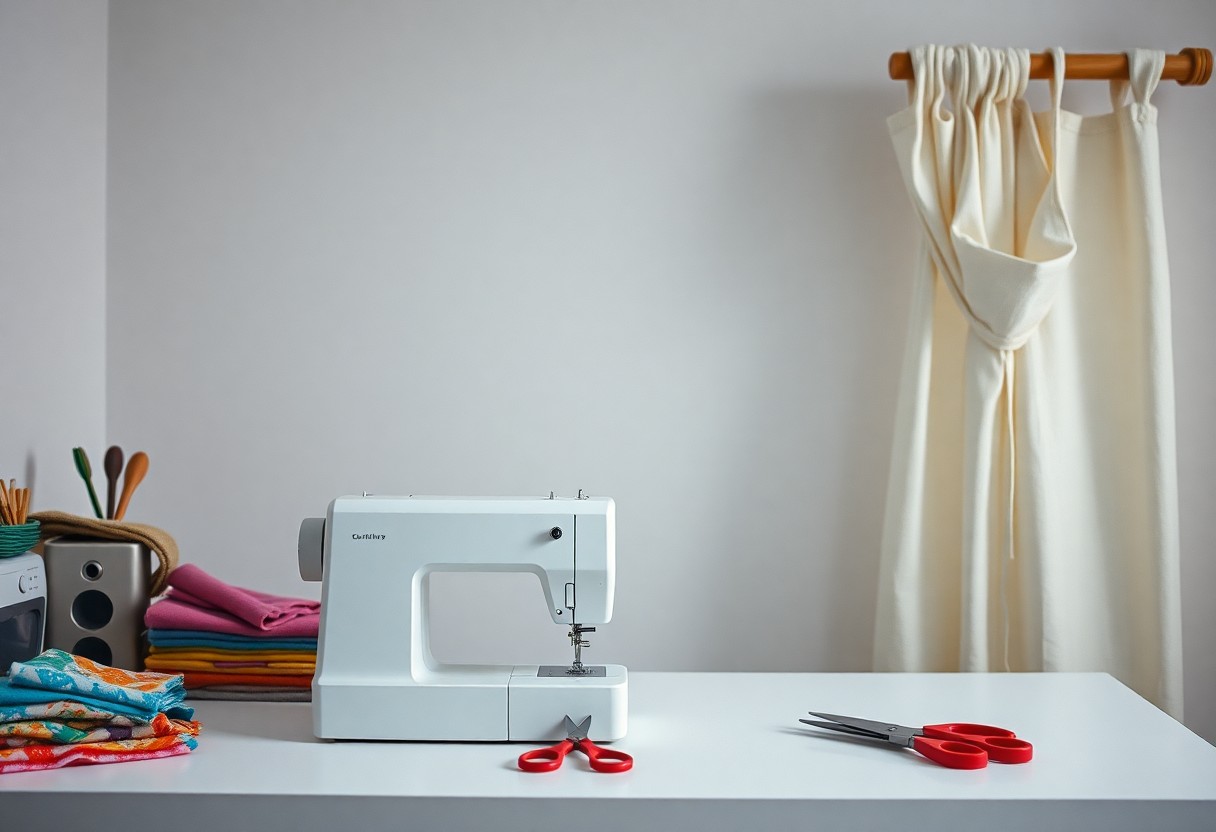
Materials Needed

Your tote bag project begins with gathering the necessary materials. You’ll need a few basic supplies to get started, including fabric, thread, and some simple sewing tools.

Fabric Selection

Around the fabric store, you’ll find a wide range of options to choose from, consider what you want your tote to look like and what kind of material will suit its intended use.

Thread and Notions

Above all, you’ll need thread and some basic notions like buttons, zippers, or rivets to complete your tote bag. You’ll also need a sewing machine and some hand-sewing needles.

To choose the right thread and notions, you’ll want to think about the color and style of your fabric, as well as the level of durability you need. You can select thread that matches your fabric, or choose a contrasting color to add some visual interest to your tote. Consider the type of closure you want to use, such as a zipper, magnetic snap, or simple tie, and make sure you have the necessary notions on hand.

Design and Planning

Assuming you have a clear idea of what you want your tote bag to look like, it’s time to start designing. You’ll need to consider the size, shape, and style of your bag, as well as the materials and colors you’ll use.

Choosing a Theme

Around this stage, you’re thinking about the overall aesthetic of your tote bag. You’ll want to choose a theme that reflects your personality or the occasion for which you’re creating the bag.

Sketching the Design

Against a blank piece of paper, you’ll start sketching out your design ideas. You’ll want to consider the placement of any text, images, or other elements you want to include on your bag.

But as you start sketching, you’ll find that your ideas begin to take shape. You can experiment with different layouts and designs, and make any necessary adjustments before moving on to the next step. You’ll want to keep your design simple, yet striking, to ensure your tote bag stands out from the crowd.

Measuring and Cutting

Not all tote bags are created equal, and it starts with measuring and cutting your fabric. You’ll need to take your time to get it just right.

Taking Measurements

Measuring the size of your tote bag is the first step. You’ll need to decide on the length, width, and height of your bag, considering how you plan to use it and what you’ll be carrying.

Cutting Out Fabric

Cutting out your fabric is a precise process. You’ll use your measurements to cut out two main pieces, one for the front and one for the back of your tote bag, making sure to add a seam allowance.

Further, when cutting out your fabric, you’ll want to use sharp scissors or a rotary cutter to get clean edges. You’ll also need to consider the grain of the fabric, making sure to cut with it to prevent fraying or distortion. This will ensure your tote bag turns out professional and durable, able to withstand regular use.

Sewing and Assembly

Once again, you’ll need to focus on precision and patience as you sew your tote bag together. Your stitches should be even and strong, able to withstand regular use.

Piecing Together the Bag

Around this stage, you’ll start to see your bag take shape. You’ll be combining your cut fabric pieces, making sure to align them carefully and sew them together with a consistent seam allowance.

Adding Handles and Straps

By now, your bag is starting to look like a functional tote. You’ll attach your handles and straps, making sure they’re secure and evenly spaced.

This step is where you add the final touches to your bag’s functionality. You’ll want to ensure that your handles are sturdy and comfortable to carry, and that your straps are adjustable and secure. As you sew them in place, make sure to double-check your stitching to ensure it can withstand the weight and wear of your finished bag. You should test your handles and straps before completing your tote bag to make sure they are strong enough.

Embellishments and Details

For a unique tote bag, consider visiting 30+ Tote-ally Awesome Tote Bag Design Ideas for inspiration. You can add various embellishments to make your bag stand out.

Adding Pockets and Compartments

By organizing your design, you can create a functional tote. Here’s a breakdown of pocket options:

Type Purpose
Inner pocket Stores small items
Outer pocket Holds larger items

Embellishing with Appliques or Patches

Pockets of creativity can be added with appliques or patches. You can use them to convey a message or add a pop of color.

Patches can be made from various materials, such as fabric, leather, or embroidery. You can place them strategically on your tote bag to create a unique design, making your bag truly one-of-a-kind as you experiment with different patterns and textures to reflect your personality.

Tips and Variations

Despite the simplicity of creating a tote bag, you can experiment with different designs. Consider the following:

  • Different fabrics
  • Various colors
  • Unique patterns

. Knowing your options will help you create a one-of-a-kind tote bag.

Customizing the Bag

Tailoring your tote bag to your needs is easy. You can add pockets, modify the straps, or change the closure to suit your style.

Troubleshooting Common Issues

The most common issues you’ll encounter are uneven seams or loose threads. You can fix these by re-sewing the seams or tightening the threads.

Indeed, troubleshooting is an important part of the process. You’ll learn to identify and fix problems as you work on your tote bag, and with practice, you’ll become more skilled at creating unique and functional bags that reflect your personality and style, making your tote bag truly yours.

Final Words

To wrap up, you’ve got the basics down to create unique tote bags. You’ve learned to choose your fabric, design your layout, and sew it all together. Your skills will improve with each new bag you make. Now, go ahead and get creative with your designs, experiment with different materials, and make your tote bags truly one-of-a-kind. With practice, you’ll be crafting bags that reflect your personal style and make you proud to carry them.

FAQ

Q: What materials do I need to create a unique tote bag?

A: To create a unique tote bag, you will need a few basic materials, including a sturdy fabric of your choice (such as cotton, canvas, or denim), a sewing machine, thread, scissors, a measuring tape, and any additional decorative elements you want to include, like ribbons, patches, or paint. The type and quality of the materials you choose will depend on the desired look and durability of your tote bag.

Q: How do I design my tote bag to make it unique?

A: Designing a unique tote bag involves considering several factors, including the bag’s purpose, your personal style, and the recipients’ preferences if you’re making it as a gift. You can start by sketching out ideas, choosing a theme or color scheme, and deciding on any graphics, patterns, or text you want to include. Consider the overall aesthetic you’re aiming for, whether it’s minimalist, bohemian, or modern, and select materials and decorations accordingly.

Q: What are the basic steps to sew a tote bag?

A: The basic steps to sew a tote bag include cutting out your fabric to the desired size, hemming the edges to prevent fraying, sewing the sides and bottom of the bag together, creating the bag’s straps, and attaching them to the bag. Additional steps may involve adding pockets, decorative stitching, or any other custom features you’ve designed. It’s a good idea to follow a pattern or tutorial if you’re new to sewing to ensure your bag turns out professionally.

Q: How can I add personalized touches to my tote bag?

A: Adding personalized touches to your tote bag can make it truly one-of-a-kind. Consider using embroidery or appliqué to add names, initials, or special messages. You can also use fabric paint or markers to create unique designs or patterns. Incorporating personal items like photos printed on fabric, meaningful patches, or custom-made buttons can also make your tote bag more personal. Additionally, choosing a color scheme or theme that resonates with the user’s interests can make the bag feel more tailored to them.

Q: What tips should I follow to ensure my tote bag is durable and long-lasting?

A: To ensure your tote bag is durable and long-lasting, use high-quality, thick fabric that can withstand regular use. Reinforce the seams with extra stitching, especially at stress points like the straps and bottom corners. Use sturdy straps that are securely attached to the bag, and consider adding a lining to protect the inner fabric and make cleaning easier. Additionally, using a water-resistant coating or treatment can protect your bag from spills and rain, further extending its lifespan.

How to Sew Simple Curtains

You can create your own curtains with ease, and this guide will walk you through the process. With basic sewing skills, you’ll be able to make simple curtains that fit your windows perfectly. You’ll learn how to measure your windows, choose the right fabric, and sew your curtains with precision. By following these steps, you’ll be able to give your home a personal touch and block out unwanted light with your newly sewn curtains.

Key Takeaways:

To create beautiful and functional window treatments, consider the following points:

  • Start by measuring your window size to determine how much fabric you need, and choose a pattern that suits your style and decor.
  • Use a sewing machine to hem the sides and bottom of the curtain, and consider adding a header or rod pocket for easy installation.
  • Finish your curtains with a straight stitch or blind hem, and add any decorative elements, such as ties or trim, to complete the look and achieve your desired style.

    Gathering Essential Materials

    For a successful curtain-sewing project, you will need to gather a few basic materials, including a sewing machine, fabric, thread, and a measuring tape. You will also need a pair of scissors, pins, and a sewing needle. Make sure you have all these items before you start your project.

    Measuring Your Windows

    Essentially, measuring your windows is the first step in making your curtains. You need to take accurate measurements of your window’s width and length to determine how much fabric you will need. You will use these measurements to calculate the amount of fabric to buy and to plan your curtain design.

    Choosing the Perfect Fabric

    For your curtain project, you need to select a fabric that suits your needs and complements your room’s decor. You should consider factors such as the fabric’s texture, color, and pattern when making your selection. You can choose from a variety of fabrics, including cotton, linen, or silk.

    A key aspect of choosing the perfect fabric is considering the level of light blocking and insulation you need. You may want to choose a thicker, heavier fabric for a room that needs more privacy or a lighter fabric for a room that needs more natural light. As you browse through different fabrics, you should also think about how easy they are to clean and maintain, as this will affect your curtains’ longevity and your overall satisfaction with your project.

    Preparing Your Tools

    It is vital to gather all the necessary tools before starting your curtain-sewing project. You will need a variety of tools to ensure a smooth and successful process. Your tools will be categorized into several groups, including sewing machine and notions, and measuring and cutting tools.

    Sewing Machine and Notions

    With your sewing machine as the primary tool, you will also need basic notions such as threads, needles, and fabric scissors to complete your project. You should ensure that your sewing machine is in good working condition and that you have the necessary accessories.

    Measuring and Cutting Tools

    Tools like a tape measure, ruler, and rotary cutter will be necessary for measuring and cutting your fabric accurately. You will use these tools to measure your window, calculate the fabric requirements, and cut the fabric to the correct size.

    Tools such as a cutting mat and quilting ruler can also be helpful in ensuring accurate cuts and preventing errors. You can use these tools to mark and cut your fabric with precision, making the sewing process easier and more efficient. By having the right measuring and cutting tools, you will be able to achieve professional-looking results with your curtains.

    Creating a Simple Curtain Pattern

    After deciding on the type of curtain you want to make, you can start creating a simple pattern. You will need to consider the size of your window, the style of your curtain, and the amount of fabric you have available.

    Determining the Curtain Style

    About the style of your curtain, you should think about the level of formality and the overall aesthetic you want to achieve. You can choose from a variety of styles, such as casual, formal, or rustic, to match your home decor.

    Calculating the Fabric Requirements

    Before you start cutting your fabric, you need to calculate how much you will need. You should measure your window and decide on the length and width of your curtain to determine the fabric requirements.

    Considering the type of fabric you are using and the style of your curtain, you may need to add extra material for hems, seams, and any other design elements. You can use a fabric calculator or consult with a sewing expert to ensure you have enough fabric for your project. This will help you avoid running out of fabric and having to make unnecessary trips to the store.

    Sewing the Curtains

    Despite the simplicity of the project, sewing the curtains requires attention to detail and precision. You will need to follow your pattern or design, ensuring that your stitches are even and your fabric is properly aligned. As you sew, you will begin to see your curtains take shape, and with each passing minute, you will be one step closer to completing your project.

    Besides the actual sewing, hemming the edges is a vital step in creating professional-looking curtains. You will need to fold the raw edges of the fabric over twice to create a hem, and then sew in place, making sure to backstitch at the beginning and end of your seam to secure it.

    Creating the Header and Footer

    Before you start sewing the header and footer, make sure you have the right measurements and fabric. You will need to cut two pieces of fabric to the desired length, and then sew them to the top and bottom of your curtains, creating a neat and tidy finish.

    Edges of the header and footer should be carefully aligned with the edges of the curtains, and sewn in place with a straight stitch. As you work on this step, you will see your curtains start to look more polished and finished, and you will be able to hang them in your window with pride, knowing that you created them yourself, with your own hands, and that they fit your window perfectly.

    Adding the Finishing Touches

    Once again, you’ll want to inspect your curtains for any imperfections or loose threads. Make any necessary adjustments to ensure a professional finish.

    Installing the Curtain Rods

    Although this step may seem straightforward, you will need to carefully measure and mark the wall to ensure your curtain rods are level and evenly spaced.

    Hanging and Adjusting the Curtains

    For a polished look, you will want to hang your curtains smoothly and evenly, making sure the folds are consistent and the hem is straight.

    In addition, to achieve the perfect drape, you will need to adjust the curtain hooks or drapery pins to the desired length, taking into account the type of curtain and the style you are aiming for, and you can also add decorative elements such as tiebacks or tassels to enhance the overall appearance of your curtains.

    Troubleshooting Common Issues

    All sewers encounter problems when making curtains, but don’t worry, you can easily fix them. You will learn how to resolve issues with uneven hems and length discrepancies.

    Dealing with Uneven Hems

    Although it’s frustrating, you can fix uneven hems by re-ironing and re-sewing the hem allowance. You will achieve a professional finish with a little patience and practice.

    Fixing Curtain Length Discrepancies

    About the time you notice a length discrepancy, you can adjust your curtains to match. You should re-measure and re-hem your curtains to ensure they are even.

    Considering your curtain length discrepancies, you should check your measurements and calculations. You can adjust the length by letting down or taking up the hem, and you will have evenly hung curtains that look great in your room.

    Conclusion

    Presently, you have gained the knowledge to sew simple curtains, enabling you to give your windows a personalized touch. You can now measure, cut, and sew your fabric with ease, creating beautiful curtains that suit your style. With your new skill, you can enhance your home’s decor and enjoy the satisfaction of having made something yourself, allowing you to take pride in your handiwork and admire your finished curtains.

    FAQ

    Q: What materials do I need to sew simple curtains?

    A: To sew simple curtains, you will need a few basic materials, including a sewing machine, fabric of your choice, measuring tape, scissors, threads that match your fabric, and a sewing needle. Additionally, you may want to use a liner or blackout fabric for better light control and insulation. The type and quantity of fabric will depend on the size of your windows and the style of curtains you want to make.

    Q: How do I measure my windows for curtain fabric?

    A: Measuring your windows accurately is vital for making curtains that fit perfectly. Start by measuring the width of your window from one side to the other, including any molding or framework. Decide how long you want your curtains to be, considering the length from the top of the window to the desired bottom hem. You should also decide on the fold or gathering style at the top, as this affects how much fabric you’ll need. It’s a good idea to add a few inches to your measurements to ensure a proper fit and for hemming purposes.

    Q: What type of stitch should I use for sewing curtains?

    A: For sewing simple curtains, a straight stitch or a zigzag stitch can be used, depending on the type of fabric and the desired finish. A straight stitch is suitable for most fabrics and gives a clean finish. However, if you’re using a stretchy or delicate fabric, a zigzag stitch may be more appropriate to prevent fraying and to allow for the fabric’s stretchiness. It’s also a good idea to backstitch at the beginning and end of your seam to secure it.

    Q: How do I create a simple hem at the bottom of my curtains?

    A: Creating a hem is one of the final steps in making curtains. To create a simple hem, fold the raw edge of the fabric up by about 1/4 inch and press. Then, fold it up again by the desired hem width (usually 2-4 inches) and press again. Place the folded edge under the sewing machine’s presser foot and sew along the folded edge to secure the hem in place. Make sure your hem is even and your stitches are straight for a professional finish.

    Q: Can I make curtains without a sewing machine?

    A: Yes, it is possible to make curtains without a sewing machine. You can use a needle and thread to sew your curtains by hand. This method is more time-consuming but can be just as effective. You can use a simple running stitch or a whipstitch to sew the sides and bottom of your curtains. For the top hem, where the curtain rod will be inserted, you might want to use a stronger stitch like the slipstitch or the blind hem stitch. While hand-sewing can be more tedious, it allows for a quiet, portable project that can be worked on in any setting.

Skip to content