You’re about to look into the world of leather crafting, where precision and patience are key. Your hands will shape and mold the leather, bringing your ideas to life. With the right techniques, you’ll be able to create items that are both functional and beautiful. You’ll learn to cut, stitch, and finish your leather projects like a pro, giving you the skills to take your crafting to the next level and create something truly unique.
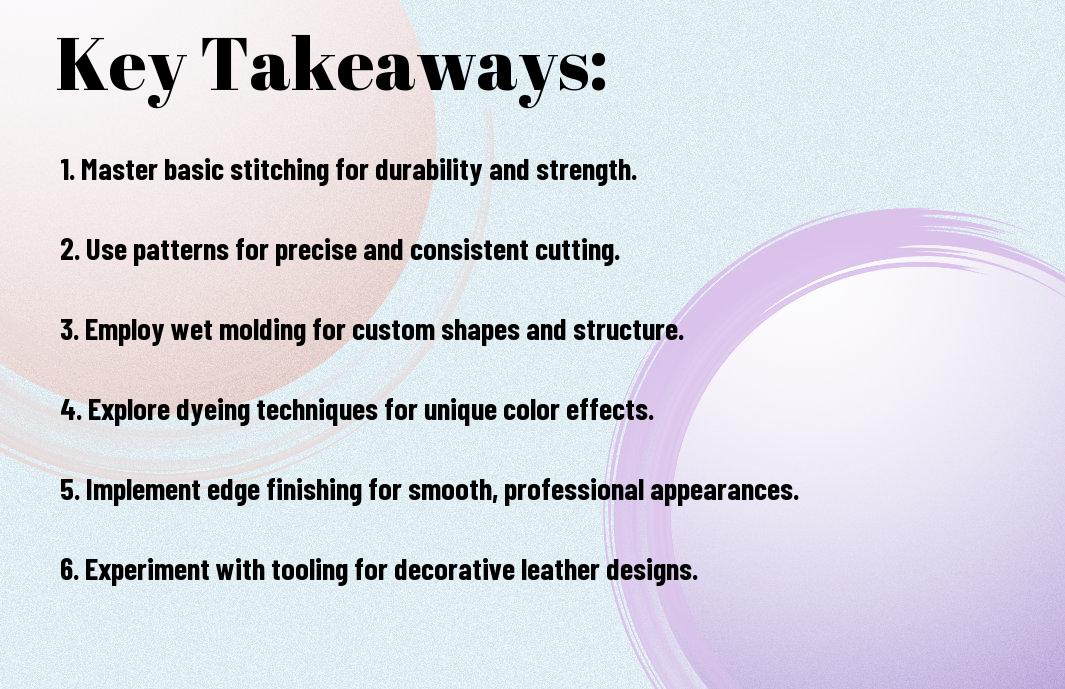
Key Takeaways:
To master the art of leather crafting, here are the main points to consider:
- Understanding Leather Selection is key to a successful project, as different types of leather have unique characteristics and uses, such as Full-Grain Leather for durability and Suede Leather for a soft, luxurious finish.
- Developing Tooling Skills is crucial for creating intricate designs and patterns on leather, including Stitching, Stamping, and Carving, which require practice and patience to master.
- Mastery of Finishing Techniques is vital to achieve a professional-looking result, including Dyeing, Conditioning, and Sealing, which help to enhance the appearance and Water Resistance of the leather.
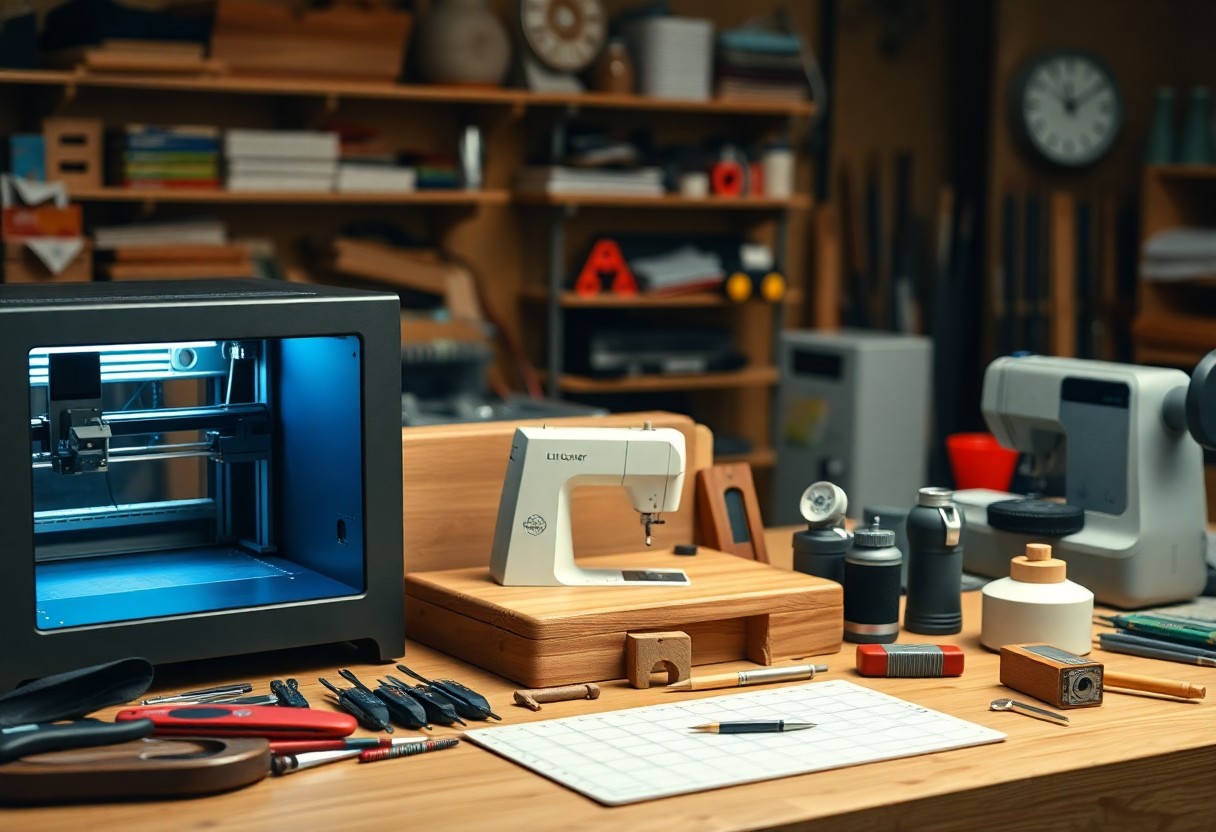
Basic Leather Crafting Tools
While working with leather, you’ll need the right tools to achieve professional results. Your toolkit will depend on the project and your level of expertise.
Essential Tools for Beginners
For starters, you’ll need basic tools like a leather cutter, edge beveler, and Awl. These will help you cut, shape, and puncture holes in your leather.
Advanced Tools for Experienced Crafters
Above all, your advanced toolkit will include:
- Leather stitcher
- Edge creaser
| Tool | Description |
|---|---|
| Leather cutter | Cuts leather accurately |
You’ll use these tools to refine your leather work and add intricate details.
Considering your advanced skills, you’ll want to invest in:
- Leather skiver
- lekz increasesr
| Tool | Purpose |
|---|---|
| Leather stitcher | Creates consistent stitches |
You’ll appreciate the precision and control these tools offer, allowing you to take your leather crafting to the next level.
Leather Preparation Techniques
If you’re looking to create high-quality leather goods, you need to start with the right preparation techniques. You’ll be working with a durable material, but it still requires attention to detail to get the best results.
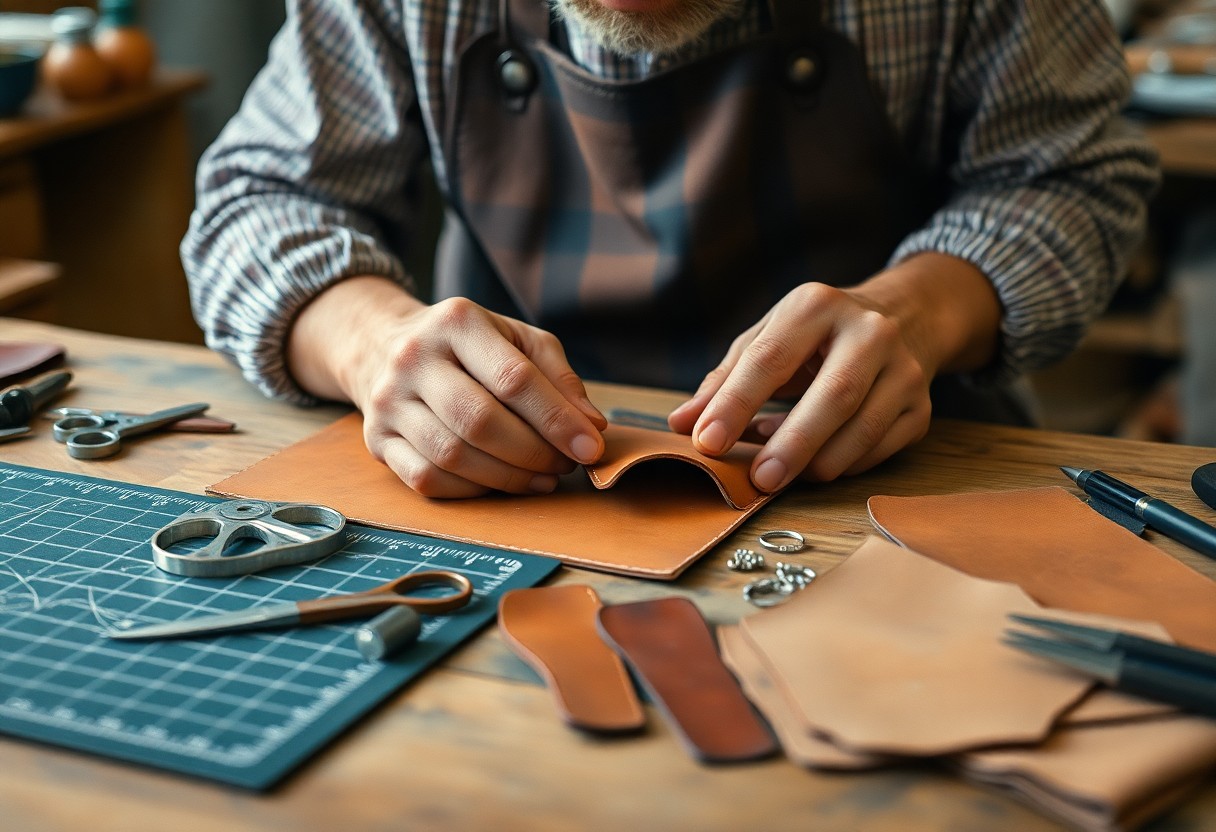
Cutting and Shaping Leather
Behind every well-made leather item is a careful cutting and shaping process. You’ll need to use sharp tools and precise measurements to get the desired shape and size for your project.
Conditioning and Finishing Leather
Finishing touches are what set your leather goods apart. You’ll need to condition and finish your leather to bring out its natural beauty and durability, using techniques that enhance its texture and appearance.
Consequently, as you work on conditioning and finishing your leather, you’ll find that it becomes more supple and develops a rich patina. You can use various techniques, such as applying oils or waxes, to protect the leather and give it a unique character that reflects your craftsmanship.
Stitching and Embellishments
Keep in mind that stitching and embellishments can make or break your leather craft. You need to balance your design with the right stitching patterns and embellishments to create a cohesive look.
Simple Stitching Patterns
For beginners, simple stitching patterns like the running stitch or backstitch are a good starting point. You can use these patterns to create a classic look for your leather craft.
Advanced Embellishments and Designs
Beside the basic stitching patterns, you can add advanced embellishments like:
- Beading
- Tooling
Embellishments Table
| Technique | Description |
|---|---|
| Beading | Adding beads to your design |
| Tooling | Using tools to create designs on leather |
You can experiment with different techniques to create unique designs.
A key aspect of advanced embellishments and designs is experimentation. You can try out different techniques like:
- Stenciling
- Pyrography
Advanced Table
| Technique | Description |
|---|---|
| Stenciling | Using stencils to create designs |
| Pyrography | Using heat to create designs on leather |
As you practice, you will develop your own style and techniques for advanced embellishments and designs.
Leather Working Methods
After exploring the basics, you’ll find various techniques to enhance your craft. Check out Techniques : r/Leathercraft for more ideas.
Molding and Shaping Leather
By applying heat and pressure, you can mold leather into desired shapes, creating unique pieces that fit your needs.
Joining and Attaching Leather Pieces
After cutting out your leather pieces, you’ll need to join them together, using methods like stitching or adhesive to create a strong bond.
Molding your leather working skills takes time, and joining pieces is a fundamental part of it. You’ll learn to choose the right thread, needle, and technique to securely attach your leather pieces, ensuring your project is both functional and visually appealing, as you progress in your craft, your skills will become more refined.
Troubleshooting Common Issues
Your leather crafting project can be plagued by various issues, but with the right techniques, you can overcome them and achieve professional-looking results.
Fixing Tears and Holes
Behind every successful leather craft lies a good understanding of how to fix mistakes, and you can repair tears and holes by using a leather patch or stitches to reinforce the area.
Solving Adhesion Problems
With the right adhesive and techniques, you can ensure a strong bond between leather pieces, and you should experiment with different adhesives to find the one that works best for your project.
Hence, solving adhesion problems requires patience and practice, and as you work with different leathers and adhesives, you will develop the skills to identify and solve adhesion issues, allowing you to complete your projects with confidence and precision, and you will be able to achieve a level of craftsmanship that you can be proud of.
Advanced Leather Crafting Projects
All advanced leather crafting projects require patience and skill.
- You will work with complex designs
- and patterns
| Project | Difficulty |
|---|---|
| Bag | High |
| Wallet | Medium |
| Shoes | High |
| Low | |
| Watch strap | Medium |
Creating Complex Designs and Patterns
The key to creating complex designs is to break them down into simpler components. You will use your skills to craft unique items.
Working with Different Types of Leather
Against the grain, you will work with various leathers.
- Full-grain leather
- Top-grain leather
- Suede
| Leather Type | Characteristics |
|---|---|
| Full-grain | Durable |
| Top-grain | Strong |
| Suede | Soft |
| Aniline | Supple |
| Pigmented | Water-resistant |
Recognizing your leather type is key to your project’s success.
Plus, as you work with different types of leather, you will develop your skills.
- Full-grain leather is durable
- Top-grain leather is strong
- Suede is soft
| Leather Type | Use |
|---|---|
| Full-grain | Bag |
| Top-grain | Shoes |
| Suede | Jacket |
| Aniline | Wallet |
| Pigmented | Belt |
Recognizing the characteristics of each leather type will help you choose the right one for your project.
Final Words
Conclusively, you’ve learned the top leather crafting techniques. You can now apply your skills to create quality leather products. Your hands will shape and mold the leather into something unique. With practice, your craftsmanship will improve, and you’ll develop your own style. You’ll be able to make leather goods that are both functional and beautiful, a testament to your dedication to the craft.
FAQ
Q: What are the basic tools required for leather crafting?
A: To start leather crafting, you will need a few necessary tools, including a leather cutter or leather shears, a leather mallet, an edge beveler, and a stitching awl. Additionally, having a work surface, such as a leather crafting mat or a cutting mat, can help protect your workspace and prevent damage to your tools and leather. You may also want to invest in a set of leather stamps or embossing tools to add decorative elements to your projects.
Q: How do I choose the right type of leather for my project?
A: Choosing the right type of leather for your project depends on the desired look, feel, and durability of the finished product. Full-grain leather is a popular choice for many projects, as it is strong and develops a beautiful patina over time. Top-grain leather is another option, which is sanded and finished to create a smooth, uniform surface. Suede and nubuck leathers are great for projects that require a soft, velvety texture, while leather scraps and reclaimed leather can be used for unique, eco-friendly projects. Consider the intended use of the item, as well as your personal preference and skill level, when selecting the type of leather for your project.
Q: What are some common leather crafting techniques for beginners?
A: For beginners, some common leather crafting techniques include cutting, stitching, and shaping. Cutting involves using a leather cutter or shears to cut out patterns and shapes from the leather, while stitching involves using a needle and thread to sew the leather pieces together. Shaping involves using a leather mallet and edge beveler to shape and finish the edges of the leather. Other techniques, such as stamping, embossing, and burnishing, can be used to add decorative elements and texture to your projects. It’s a good idea to practice these techniques on scrap leather before starting a project, to get a feel for the tools and materials, and to build your skills and confidence as a leather crafter.