You’re about to begin on a creative journey with resin, and with the right guidance, you’ll unlock its full potential. As you start working with resin, you’ll discover its versatility and the unique possibilities it offers. Your projects will flourish as you learn to mix, pour, and finish resin like a pro. In this guide, you’ll find step-by-step instructions to help you master the techniques and achieve stunning results with your resin projects.
Key Takeaways:
- When working with resin, it is necessary to prepare a clean and dust-free work environment to avoid any contamination that could affect the final result.
- Understanding the curing process and the mixing ratios of the resin and hardener is vital to achieve the desired consistency and finish.
- Safety precautions such as wearing protective gear, including gloves and goggles, and ensuring good ventilation are necessary to prevent skin irritation and inhalation of harmful fumes.
Understanding Resin Basics
A key aspect of working with resin is grasping its fundamental properties. You will encounter various types of resin, each with unique characteristics.
Types of Resin
Among the types of resin you will work with are:
- Epoxy resin
- Polyurethane resin
- Acrylate resin
- Urethane resin
- Silicone resin
The variety of resin types will help you choose the best fit for your project.
Resin Type Characteristics Epoxy resin Strong, durable Polyurethane resin Flexible, resistant Acrylate resin Clear, fast-curing Urethane resin Tough, abrasion-resistant Silicone resin Flexible, heat-resistant Safety Precautions
Clearly, your safety is paramount when working with resin. You should take necessary precautions to avoid exposure and potential health hazards.
This involves wearing protective gear, ensuring good ventilation, and following the manufacturer’s instructions for handling and mixing resin. As you work with resin, you will need to take steps to prevent skin and eye irritation, as well as inhalation of fumes. You should also keep your workspace clean and organized to minimize the risk of accidents and spills.
Preparing for Resin Work
Some preparation is necessary before you start working with resin. You can find a wealth of information on resin art, including a helpful Resin Art – Beginner’s Guide to get you started.
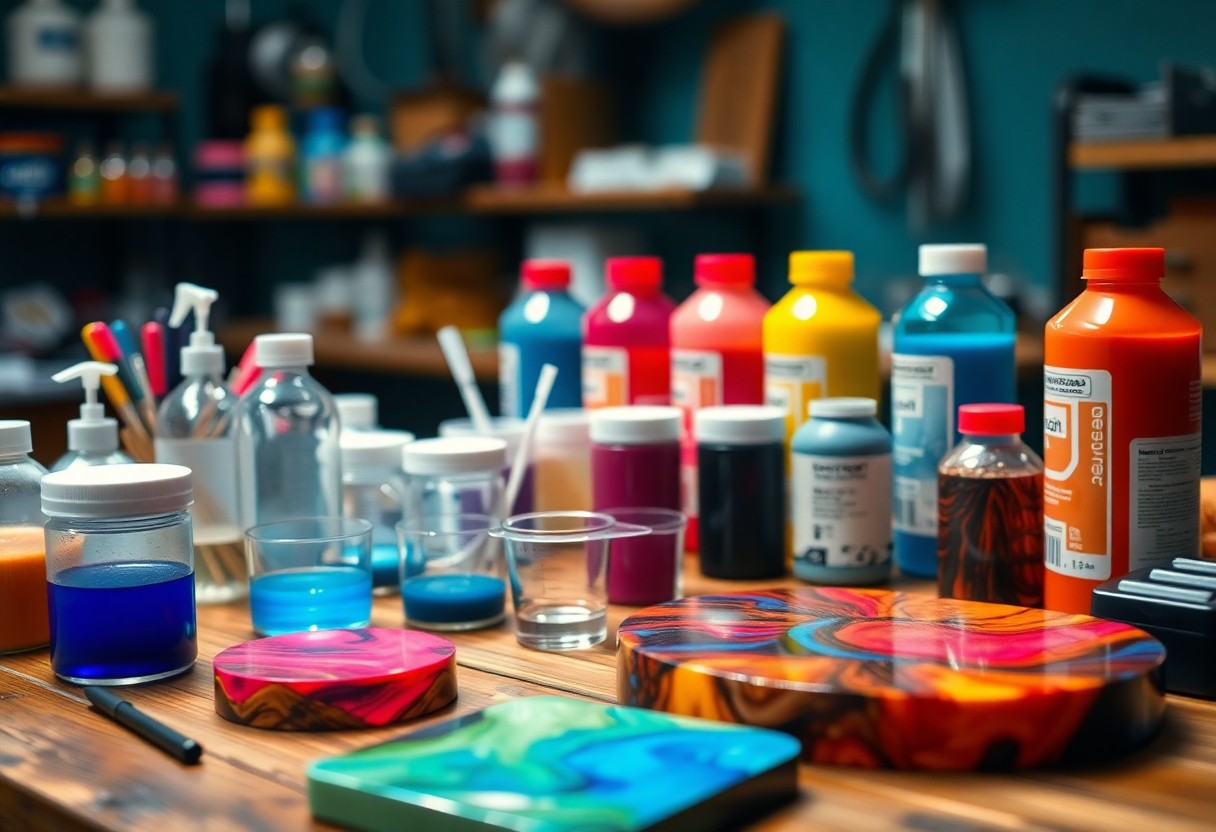
Essential Tools and Materials
Similar to other crafts, some basic tools and materials are required for resin work, including a well-ventilated workspace, gloves, and a scale to measure your resin and hardener accurately.
Workspace Setup
Setting up your workspace is vital for a successful resin project, you will need a clean, dry, and dust-free area to work in, with all your tools and materials within easy reach.
The workspace setup you create will directly impact the quality of your finished project, as a cluttered or dirty workspace can lead to mistakes and a poor finish, so take your time to set it up correctly, and you will be well on your way to creating beautiful resin pieces.
Mixing and Applying Resin
Many variables can affect the outcome of your resin project, and proper mixing and application techniques are important to achieve the desired results. You will need to prepare your workspace, mix the resin according to the instructions, and apply it to your project using the right tools.
Measuring and Mixing Techniques
Resin-like materials require precise measurements to ensure the correct ratio of hardener to resin. You should follow the manufacturer’s instructions for mixing and be careful not to introduce air into the mixture, as this can cause bubbles to form.
Application Methods and Tips
Techniques for applying resin vary depending on the project, but you can use a brush, pouring, or spreading method. Consider the following:
- Using a clean and dry surface
- Applying thin layers to avoid drips
- Working in a well-ventilated area
Assume that your workspace is well-prepared before starting the application process.
Another aspect of applying resin is considering the environmental conditions, such as temperature and humidity, which can affect the curing process. You can use a variety of tools, including:
- A heat gun to speed up the curing process
- A UV lamp to cure the resin
- A mixing stick to remove air bubbles
Assume that you have the necessary tools and equipment to achieve the desired finish for your project.
Factors Affecting Resin Quality
Keep in mind the factors that affect resin quality, including:
- Materials used
- Mixing technique
Recognizing these factors will help you achieve better results.
Temperature and Humidity Control
Factors such as temperature and humidity can impact your resin’s quality.
Factor Impact Temperature Affects curing time Humidity Affects resin viscosity Environmental Factors to Consider
With your workspace in mind, consider:
- Air circulation
- Light exposure
Recognizing these factors will help you optimize your workspace.
It is necessary to consider the environmental factors that may affect your resin’s quality. You should consider:
- Dust and particles
- Chemical exposure
Recognizing these factors will help you take necessary precautions to protect your resin and ensure the best possible outcome for your project.
Troubleshooting Common Issues
After working with resin, you may encounter some common issues that can be frustrating, but with the right techniques, you can easily resolve them and achieve the desired results.
Identifying and Fixing Bubbles and Cracks
Little imperfections can ruin your resin project, but you can identify and fix bubbles and cracks by inspecting your work carefully and using the right tools to remove or fill them.
Dealing with Color and Finish Problems
Now that you have mastered the basics of resin, you can deal with color and finish problems by experimenting with different pigments and techniques to achieve the desired effect, and you will find that your projects turn out beautifully.
Bubbles in your resin can affect the color and finish, but you can minimize them by mixing your resin thoroughly and applying it in a controlled environment, and you will be able to achieve a smooth, even finish that showcases your colors perfectly, allowing you to take your resin projects to the next level and create stunning pieces that you will be proud to display.
Advanced Resin Techniques
Once again, you’ll find that working with resin requires patience and practice. Consider the following techniques:
- Layering
- Mixing with other materials
Technique Description Layering Creating multiple layers of resin Coloring and Pigmenting Resin
Apparently, you can achieve unique effects by adding pigments to your resin. You can use various coloring agents to create the desired hue.
Adding Textures and Patterns
To achieve complex designs, you can add textures and patterns to your resin. You can use materials like fabric or paper to create unique effects.
Pigmenting your resin with textures and patterns opens up a world of creative possibilities. You can experiment with different materials and techniques to create one-of-a-kind pieces that reflect your style and personality.
To wrap up
Conclusively, you have learned the basics of working with resin, and now you can apply your knowledge to create unique projects. You will find that practicing with resin helps you develop your skills, and your experience will grow with each new piece you create. As you experiment with different techniques, you will become more confident in your ability to work with resin and achieve the desired results, allowing you to bring your ideas to life.
FAQ
Q: What safety precautions should I take when working with resin?
A: When working with resin, it is vital to take necessary safety precautions to avoid any potential health risks. This includes wearing protective gear such as gloves, goggles, and a mask to prevent skin and eye irritation, as well as inhalation of fumes. Additionally, ensure you are working in a well-ventilated area, away from direct sunlight and heat sources. It’s also a good idea to have a fire extinguisher nearby in case of emergencies. By taking these precautions, you can minimize the risks associated with working with resin and create a safe working environment.
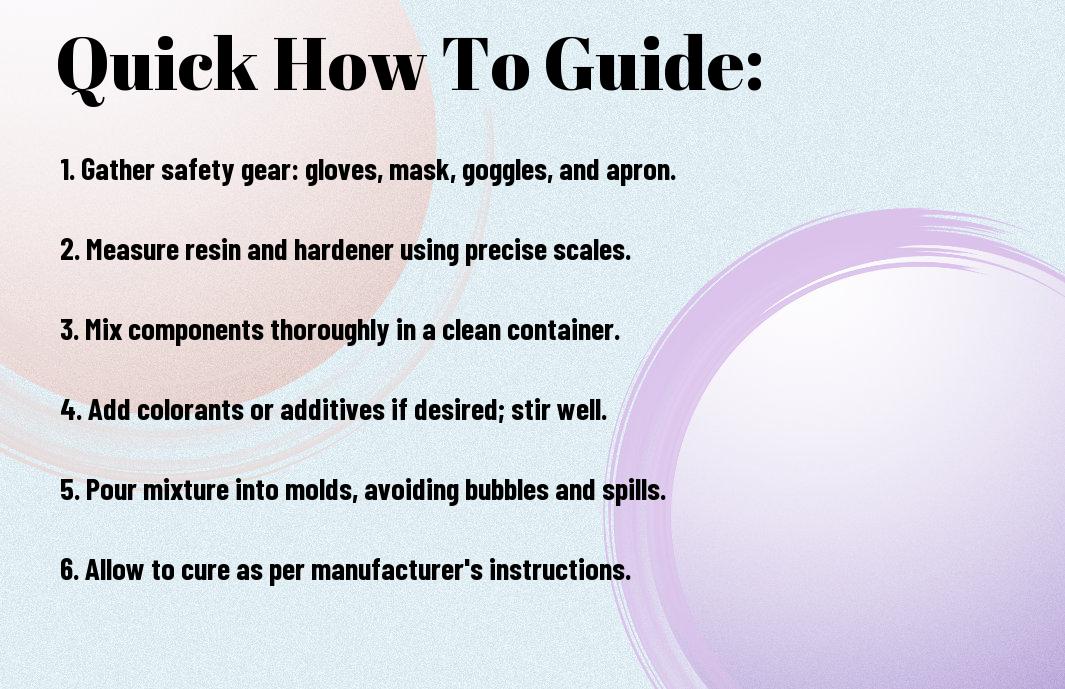
Q: How do I mix and prepare resin for a project?
A: To mix and prepare resin for a project, start by carefully reading the instructions provided with your specific resin product, as different types of resin may have unique mixing requirements. Generally, you will need to mix the resin with a hardener or catalyst in a specific ratio. Use a digital scale to ensure accurate measurements, and mix the components in a well-ventilated area. Use a stir stick or mixing cup to thoroughly combine the resin and hardener, making sure to scrape the sides and bottom of the mixing cup. It’s also important to work in a dust-free environment and minimize air bubbles to achieve a smooth, even finish.
Q: How do I achieve a bubble-free and smooth finish when working with resin?
A: Achieving a bubble-free and smooth finish when working with resin requires some technique and patience. To minimize air bubbles, make sure to mix the resin slowly and thoroughly, and use a stir stick or mixing cup to remove any air pockets. You can also use a torch or heat gun to gently heat the resin, which will help to dissolve any bubbles that form. To achieve a smooth finish, use a flat, even surface to pour the resin onto, and use a credit card or similar tool to spread it out evenly. Allow the resin to cure slowly and naturally, avoiding direct sunlight or heat sources, which can cause it to cure too quickly and unevenly. By following these tips, you can achieve a beautiful, bubble-free finish with your resin project.

