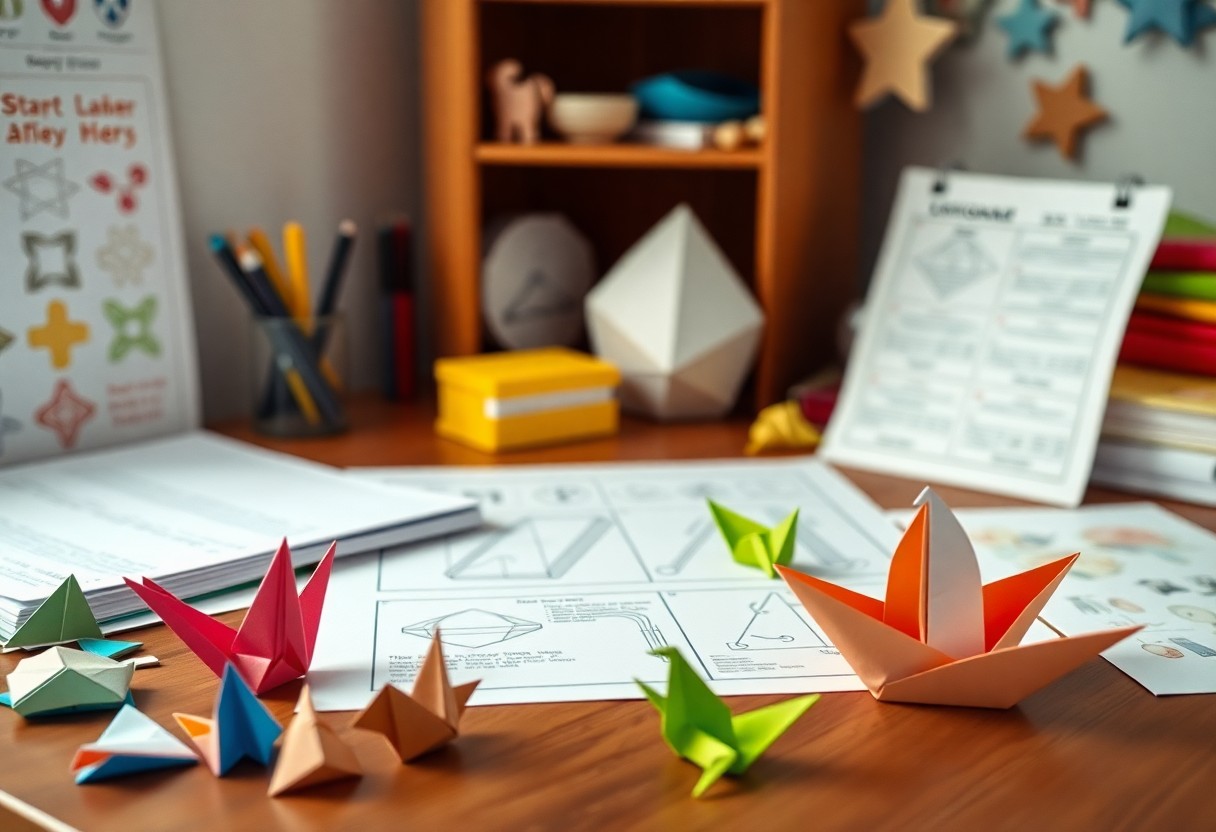
You hold a sheet of paper, its texture and weight a tactile sensation in your hands. As you consider the possibilities, your creativity stirs. With a few simple tools, you can transform this blank page into a work of art. Your imagination is the limit, and the art of paper crafting awaits your exploration, a world of folds, cuts, and shapes that you can master with patience and practice.
Key Takeaways:
To improve your skills in paper crafting, consider the following points:
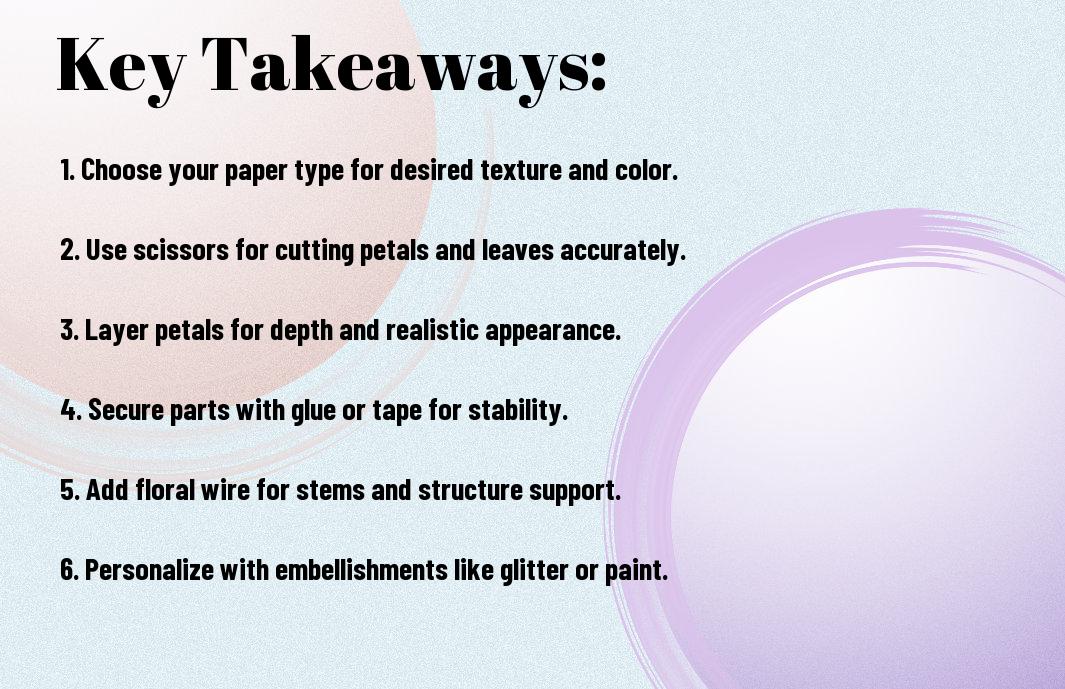
- Mastering the techniques of paper crafting, such as cutting, folding, and shaping, is imperative to creating beautiful and intricate designs.
- Understanding the properties of different types of paper, including texture, weight, and color, can help you choose the right materials for your project and achieve the desired effect.
- Practicing patience and attention to detail is vital in paper crafting, as small mistakes can affect the overall appearance of the final product, and taking your time will allow you to create Complex and Delicate designs.
History of Paper Crafting
Before delving into the world of paper crafting, you should understand its rich history. You’ll discover that paper crafting has been around for centuries, originating in ancient civilizations.
Origins and Evolution
Following the early days of paper crafting, you’ll find that it evolved over time, influenced by various cultures and technologies. You can see this evolution in the different techniques and materials used in paper crafting today.
Influential Artists
Inspired by the work of others, you’ll notice that certain artists have made significant contributions to the art of paper crafting. You can learn from their innovative techniques and unique styles.
In fact, as you explore the work of these influential artists, you’ll gain a deeper appreciation for the craftsmanship and creativity that goes into paper crafting. You’ll see how they have pushed the boundaries of this art form, experimenting with new materials and techniques to create stunning pieces that inspire and delight.
Techniques and Tools
You will find that paper crafting involves a range of skills and equipment. Your creativity and attention to detail will be important in mastering these techniques.
Essential Materials
Technologically, advanced tools are not necessary, but basic supplies like paper, glue, and scissors are must-haves for your paper crafting journey.
Folding and Cutting Methods
Beside the basic tools, you will need to learn various folding and cutting techniques to create intricate designs and patterns in your paper crafts.
Even with simple tools, you can create complex and beautiful designs by mastering the art of folding and cutting, which will take your paper crafting to the next level, allowing you to experiment with different textures and shapes to create unique pieces that reflect your style and creativity.
Types of Paper Crafting
Now, you can explore various types of paper crafting, including:
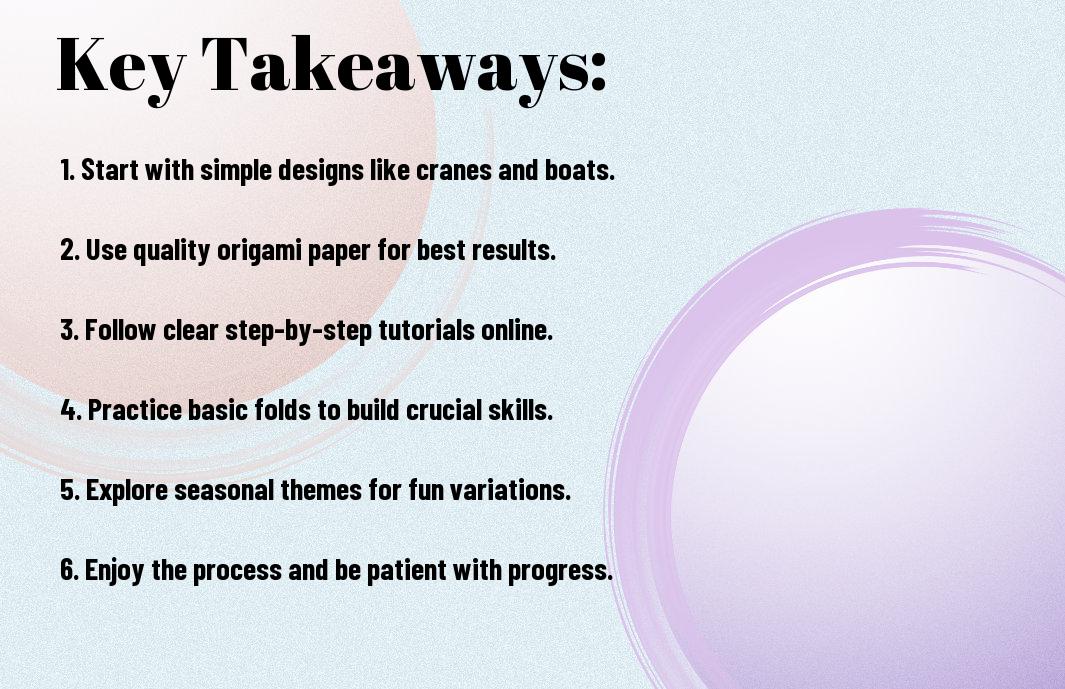
- Origami
- Kirigami
- Card Making
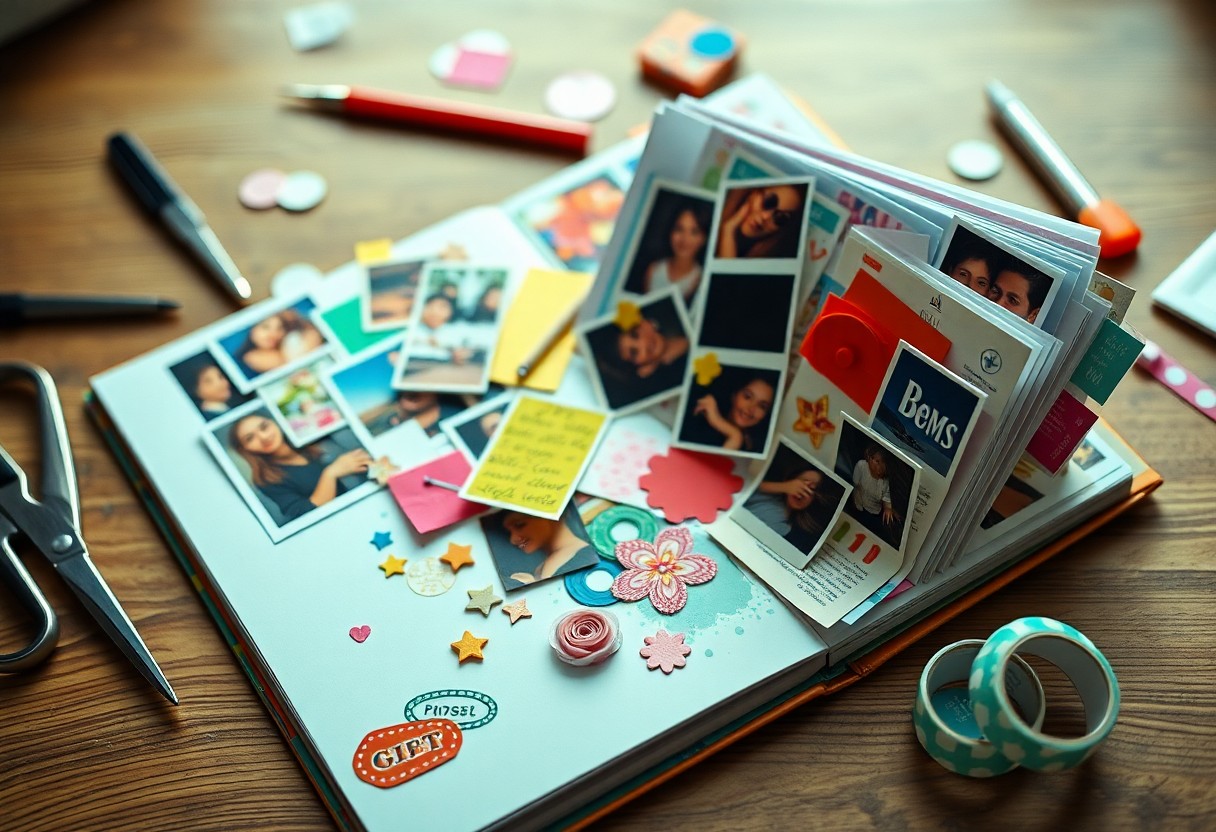
- Scrapbooking
- Collage
Perceiving the differences, you can see them in the table below:
| Type | Description |
|---|---|
| Origami | Folding paper |
| Kirigami | Cutting paper |
| Card Making | Creating cards |
| Scrapbooking | Preserving memories |
| Collage | Combining papers |
Origami and Kirigami
The art of folding and cutting paper is a traditional craft, allowing you to create intricate designs and shapes, you can try your hand at these ancient techniques.
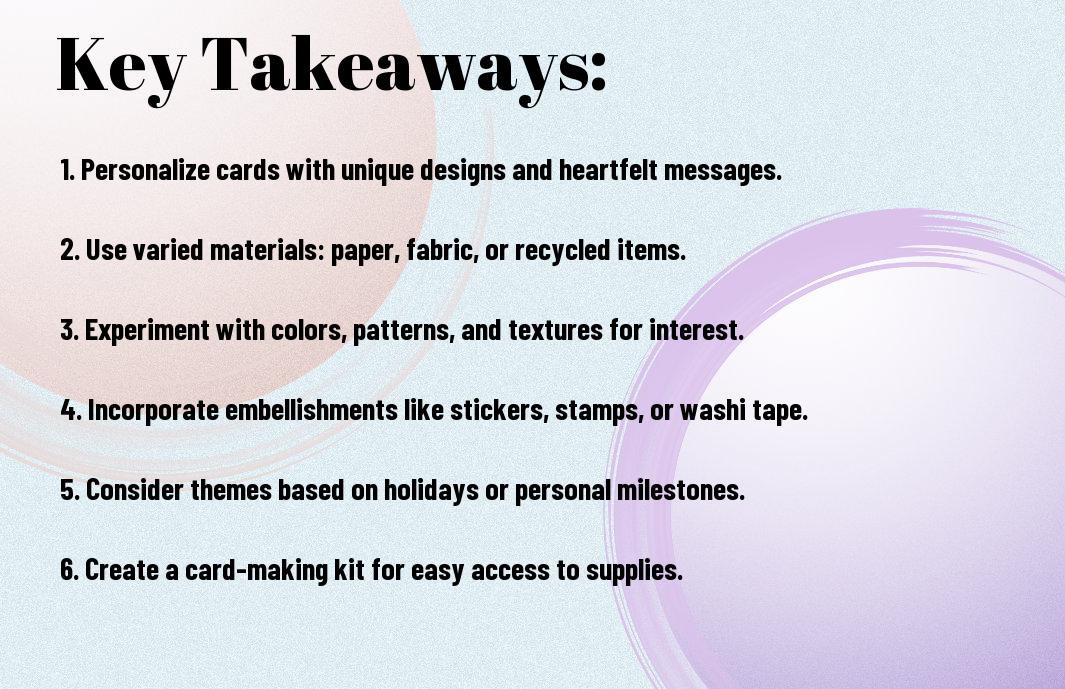
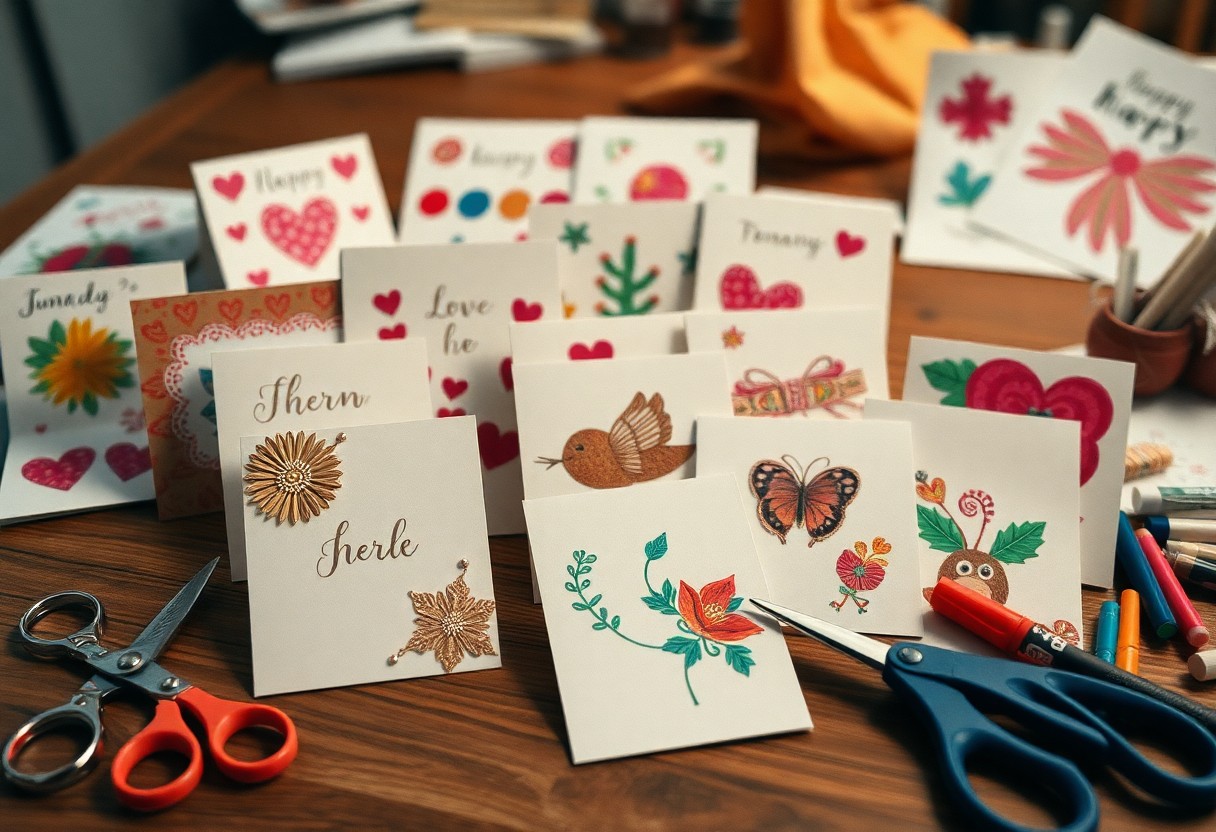
Card Making and Scrapbooking
Apart from the basic techniques, you can also create personalized cards and preserve your memories in a scrapbook, giving you a sense of accomplishment.
At this point, you can take your card making and scrapbooking to the next level by adding embellishments, photos, and other decorative elements, making your creations truly unique and meaningful, allowing you to express your personality and style.
Creative Expression
After exploring the world of paper crafting, you’ll discover the endless possibilities for self-expression. Your imagination runs wild as you create unique pieces that reflect your personality and style. With each fold and cut, you bring your vision to life, creating something truly original.
Design Principles
Practically speaking, principles of design guide your creative process, helping you balance elements like color, texture, and shape. You consider these principles as you work, making intentional decisions to create a cohesive and visually appealing piece.
Inspiration and Ideas
Around you, inspiration awaits, sparking your creativity and guiding your projects. You find ideas in nature, art, and everyday life, using them to fuel your imagination and push the boundaries of paper crafting.
Understanding what inspires you is key to developing your unique style. You begin to notice the intricate details in the world around you, from the patterns on a leaf to the textures of a cityscape. As you tap into these sources of inspiration, your paper craft projects become more nuanced and expressive, reflecting your individual perspective and creative voice.
Paper Crafting in Different Cultures
Not surprisingly, paper crafting varies greatly across cultures, reflecting unique traditions and histories. You’ll find distinct styles and methods in each region, shaped by local materials and artistic expressions.
Traditional Techniques
Crafting paper into intricate designs is an ancient art form, with you discovering techniques like origami in Japan and paper quilling in Europe. You’ll appreciate the attention to detail and skill involved in these traditional methods.
Modern Adaptations
Adapting traditional paper crafting to modern tastes, you’ll see innovative uses of paper in art, design, and decor. You can experiment with new materials and tools to create unique pieces.
For instance, you can combine paper crafting with other art forms like painting or collage, pushing the boundaries of this traditional craft. You’ll find that modern adaptations of paper crafting offer endless possibilities for your creativity, allowing you to express yourself in new and exciting ways.
Tips and Best Practices
Many paper crafters find that following a few simple guidelines helps them achieve professional-looking results. You can try:
- using high-quality materials
- practicing patience and precision
. Any attention to detail will make your projects stand out.
By taking a closer look at your work, you can identify and correct common errors, such as uneven cuts or poorly applied adhesive, to improve your overall technique.
Improving Skills and Techniques
On your journey to mastering paper crafting, you will find that experimenting with different tools and methods helps you develop your unique style and voice.
Indeed, as you continue to hone your skills, you will find that your projects become more intricate and sophisticated, and you will be able to tackle complex designs with confidence, allowing you to push the boundaries of what is possible with paper crafting, and creating truly remarkable works of art that reflect your personality and creativity.
Final Words
Drawing together the threads of your paper crafting journey, you see the beauty in every fold and crease. Your hands have shaped and molded the paper into something unique, a reflection of your skill and patience. As you look at your finished piece, you feel a sense of pride and accomplishment, knowing that you have created something with your own hands, a true work of art that showcases your dedication to the craft.
FAQ
Q: What is paper crafting and how did it originate?
A: Paper crafting is the art of creating objects and designs using paper as the primary medium. It has a rich history that dates back to ancient civilizations, with evidence of paper crafting found in ancient China, Japan, and Egypt. Over time, paper crafting evolved and spread to other parts of the world, with various cultures developing their unique techniques and styles. Today, paper crafting encompasses a wide range of activities, including card making, scrapbooking, origami, and quilling, among others.
Q: What are the basic tools and materials needed to get started with paper crafting?
A: To get started with paper crafting, you will need a few basic tools and materials. These include a variety of paper types, such as cardstock, patterned paper, and textured paper, as well as cutting tools like scissors, craft knives, and paper trimmers. Adhesives like glue, tape, and spray adhesive are also imperative, along with embellishments like stickers, stamps, and ribbons. Depending on the specific paper crafting technique you want to try, you may also need specialized tools like a paper cutter, scoring board, or quilling tool.
Q: What are some popular techniques used in paper crafting?
A: There are many techniques used in paper crafting, each with its own unique characteristics and effects. Some popular techniques include quilling, which involves rolling and shaping narrow strips of paper into intricate designs; origami, which involves folding paper to create intricate shapes and figures; and paper piercing, which involves creating intricate designs using a paper piercer or a needle. Other techniques include stamping, embossing, and die-cutting, which can be used to add texture, pattern, and dimension to paper crafts.
Q: How can I improve my paper crafting skills and learn new techniques?
A: There are many ways to improve your paper crafting skills and learn new techniques. One of the best ways is to take classes or workshops, either online or in-person, where you can learn from experienced instructors and get hands-on practice. You can also find tutorials and videos online, as well as books and magazines dedicated to paper crafting. Joining a paper crafting community or online forum can also be a great way to connect with other crafters, share ideas, and learn from their experiences. Additionally, practicing regularly and experimenting with new techniques and materials can help you develop your skills and style.
Q: What are some tips for storing and organizing my paper crafting supplies?
A: Storing and organizing your paper crafting supplies can be a challenge, but there are several tips that can help. One of the most important things is to have a dedicated workspace or craft room where you can keep all your supplies within easy reach. Using storage containers, bins, and baskets can help keep your supplies organized and labeled, making it easier to find what you need when you need it. You can also use a paper tray or paper sorter to keep your paper organized by type and color, and consider investing in a craft mat or work surface to protect your work area from damage. Additionally, keeping your supplies clean and tidy, and putting things back in their place after use, can help maintain a clutter-free and inspiring workspace.