You can enhance your space with unique wall art that reflects your personality. To get started, you will need to decide on a design and materials that fit your style and budget. If you’re looking for inspiration, you can check out Easy Ways to Create Large Scale Wall Art on a Budget to discover affordable options. Your creativity and imagination will guide you in making beautiful wall art that transforms your room into a stunning space.
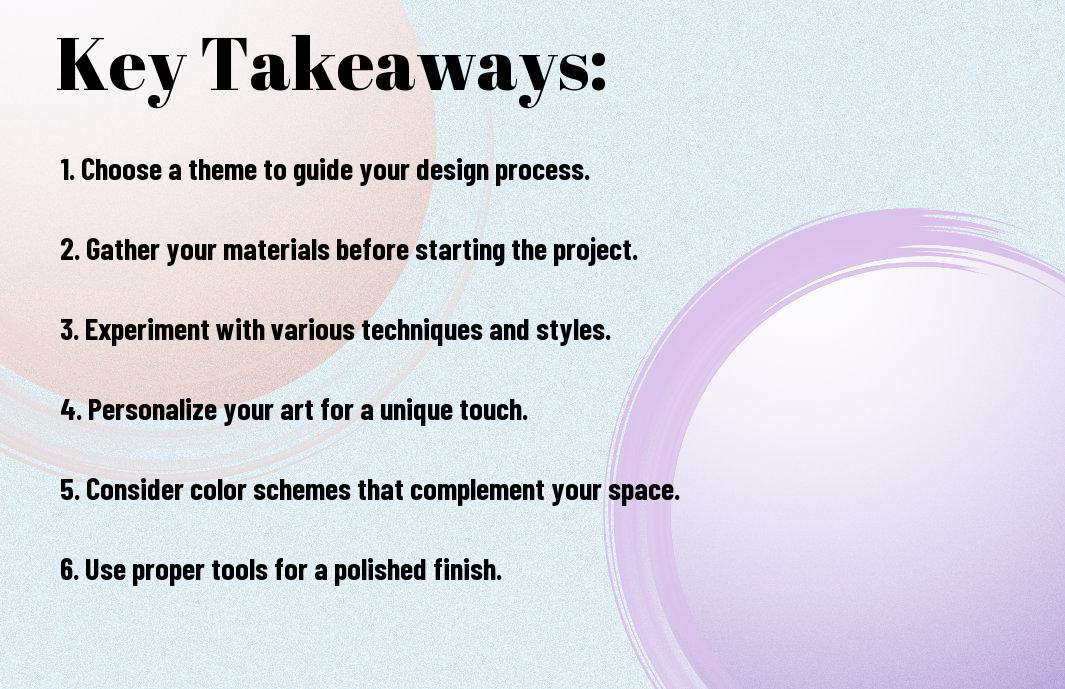
Key Takeaways:
To create stunning wall art, consider the following points:
- Start by selecting a theme that resonates with your personal style or the room’s décor to ensure the art piece blends in seamlessly.
- Choose a medium that suits your skills and preferences, such as painting, drawing, or mixed media, to bring your creative vision to life.
- Experiment with different techniques, like layering, texturing, or abstracting, to add depth and visual interest to your wall art and make it a unique conversation piece.
Gathering Materials
Before you start creating your wall art, you need to gather all the necessary materials. This includes a canvas, paints, brushes, and any additional decorative items you want to incorporate into your design. You’ll also need a workspace where you can lay out your materials and work on your project without any distractions or interruptions.
Choosing the Right Canvas
Around the time you’re deciding on the theme of your wall art, you should also consider the type of canvas you want to use. You’ll find that canvases come in various sizes, shapes, and materials, so you need to choose the one that best suits your needs and preferences.
Selecting Colors and Brushes
Around the same time you’re selecting your canvas, you should also think about the colors and brushes you’ll use to bring your design to life. You’ll want to choose colors that complement each other and fit with the theme of your wall art, as well as brushes that are suitable for the type of paint you’re using.
Understanding the color palette and brush styles you’re working with is key to creating a beautiful piece of wall art. As you select your colors and brushes, consider the texture and effect you want to achieve, and don’t be afraid to experiment with different combinations to find the one that works best for your project. You can also test your colors and brushes on a small area of the canvas before starting your main design.
Design and Planning
It is the initial stage of creating wall art, where you brainstorm and visualize your ideas. You will decide on the theme, style, and overall aesthetic of your artwork, setting the foundation for a successful project.
Sketching Ideas
Among the first steps in designing your wall art, you will start sketching out your ideas, considering the space where the artwork will be displayed and the message you want to convey. You will experiment with different shapes, patterns, and compositions to find the perfect fit for your vision.
Considering Color Schemes
Across the various design elements, you will select a color scheme that complements your artwork and the surrounding environment. You will think about the emotions and moods different colors evoke, ensuring your choices align with your artistic goals.
Considering the color scheme of your wall art, you will look at the colors used in the room, as well as your personal preferences, to create a harmonious palette. You will choose colors that enhance your artwork, making it a beautiful addition to the space, and you will also think about the balance between contrasting and complementary colors to create visual interest.
Preparing the Workspace
Keep your workspace clean and organized to ensure a successful wall art project. You will need a clear area to work on your design, and a clutter-free space will help you stay focused and avoid mistakes.
Setting Up the Area
Alongside your creativity, you will need a well-lit and comfortable workspace to bring your wall art idea to life. You can set up a table or easel to hold your materials and design.
Protecting the Floor and Surroundings
Against potential mess and damage, you should take necessary precautions to protect your floor and surroundings. You can use drop cloths or old sheets to cover your work area and prevent paint or other materials from spilling.
In addition to covering your floor, you should also consider protecting your walls and furniture from accidental splatters or spills. You can use tape or plastic sheets to mask off areas you don’t want to get dirty, and make sure to clean up any mess immediately to avoid permanent damage to your surroundings.
Creating the Art
After planning your design, you can start creating your wall art. You will need various materials such as paints, brushes, and a canvas or wood panel. Your creativity and skills will shine as you bring your idea to life.
Starting with a Base Coat
Before you begin adding details, you need to start with a base coat to set the tone for your art. You can choose a single color or a gradient to create a unique effect, and apply it evenly to your surface.
Adding Layers and Details
The next step is to add layers and details to your art, which will give it depth and dimension. You can use different techniques such as layering paint, adding textures, or incorporating other materials to create a unique piece.
Even as you add more layers and details, you can experiment with different styles and techniques to make your art truly yours. You can try mixing media, such as paint and ink, or adding three-dimensional elements to create a mixed-media piece that reflects your personality and creativity.
Adding Final Touches
Unlike other steps in the process, adding final touches to your wall art is where you get to see your vision come together. You can add a few finishing details, such as a frame or a coat of varnish, to enhance the overall look of your piece.
Applying Varnish or Sealant
Before applying a varnish or sealant, ensure your wall art is completely dry and free of dust. You will then apply a thin, even layer to protect your artwork and give it a professional finish.
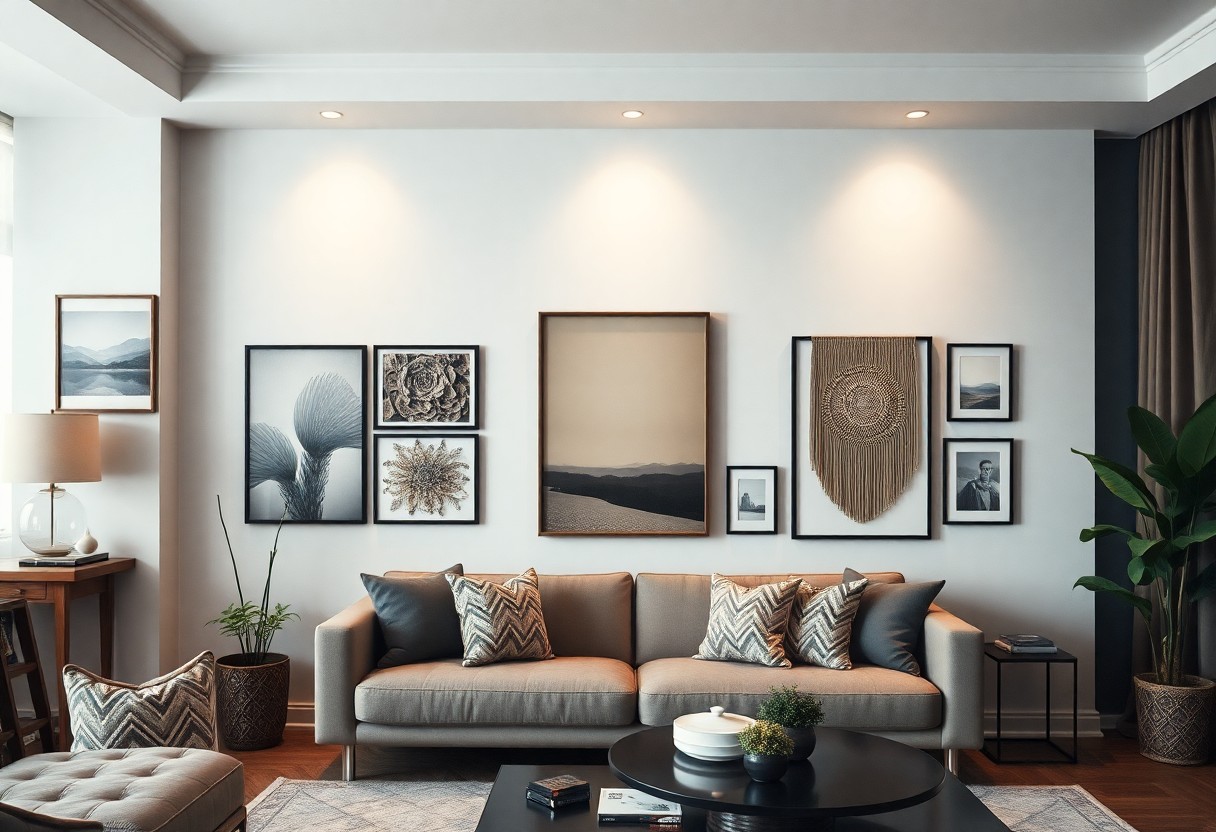
Hanging and Displaying
Against the wall, your finished piece will look great, but you need to consider a few things when hanging and displaying it. You should choose a spot with good lighting and minimal glare.
At this stage, you can step back and admire your handiwork. You’ve successfully created your own wall art, and now it’s time to show it off. You can experiment with different hanging options, such as a single piece or a gallery wall, to find the perfect display for your unique creation.
Troubleshooting Common Issues
Your wall art project may encounter some issues, but don’t worry, they can be easily resolved. You can fix mistakes, deal with canvas imperfections, and achieve a professional finish.
Fixing Mistakes
Before you proceed, assess the mistake and determine the best course of action. You can paint over small errors or use correction techniques to fix them.
Dealing with Canvas Imperfections
Above all, inspect your canvas carefully for imperfections like wrinkles or bubbles. You can stretch or iron the canvas to remove them.
Plus, if you notice any stubborn imperfections, you can use a primer or gesso to create a smooth surface for your art. You can also use a texture paste to add a unique effect to your wall art, making the imperfections a part of the design.
Summing up
Upon reflecting on the process of creating wall art, you now have the skills to design your own pieces. You can choose your materials, select a theme, and arrange your composition to create a unique piece that reflects your style. With your newfound knowledge, you can confidently create wall art that enhances your space and showcases your personality, making your home truly special with your artistic touch.
FAQ
Q: What materials do I need to make wall art?
A: To make wall art, you will need a variety of materials depending on the type of art you want to create. Some common materials include canvas, paint, brushes, frames, scissors, glue, and any other decorative items you want to incorporate into your design. You can also use recycled materials like old maps, music sheets, or book pages to add a unique touch to your art. Additionally, you may need a staple gun, nails, or a hanging kit to mount your art on the wall.
Q: How do I choose the right frame for my wall art?
A: Choosing the right frame for your wall art can enhance its overall appearance and protect it from damage. Consider the style and theme of your art, as well as the color and texture of the frame. You can choose from a variety of frame styles, including modern, traditional, or rustic. Make sure the frame is the right size for your art and that it is made of high-quality materials that will last. You can also consider factors like the width of the frame, the type of glass or acrylic used, and the hanging hardware.
Q: What are some popular techniques for creating wall art?
A: There are many popular techniques for creating wall art, including painting, drawing, printing, and collage. You can use watercolors, acrylics, or oils to create a unique and original piece of art. You can also use digital tools to create a print, or combine different materials and textures to create a collage. Other techniques include stenciling, stamping, and decoupage. You can also experiment with different mediums like ink, pastels, or charcoal to add depth and dimension to your art.
Q: How do I hang my wall art properly?
A: Hanging your wall art properly can make a big difference in its appearance and longevity. Start by choosing the right spot for your art, taking into account the lighting, traffic, and surrounding decor. Use a level to ensure the art is straight, and a measuring tape to mark the spot where you want to hang it. Use a sturdy nail or screw to hang the art, and consider using a hanging kit or adhesive strips for heavier or larger pieces. Make sure the art is secure and level, and adjust as needed to achieve the perfect display.
Q: Can I make wall art without any artistic experience?
A: Yes, you can make wall art without any artistic experience. There are many simple and fun techniques that don’t require any special skills or training. You can start with a simple project like a photo collage or a quote print, and then experiment with different materials and techniques as you become more confident. You can also use stencils, stickers, or pre-made templates to create a unique and personalized piece of art. Additionally, you can find many tutorials and inspiration online, or take a class or workshop to learn new skills and techniques. The most important thing is to have fun and be creative!
